Inspiration for
Your Classes

So you are looking for an extraordinary way to introduce 3D Printing in your Design & Technology classes. Or maybe you were thinking about 3D Printed Fashion for your TAS & Textile Classes for quite a while, but don’t know where to start.
Regardless of what has brought you here, I promise you will find exactly what your creative teacher's soul desires.
In this article I will cover 3 super easy 3D Printed FashionTech Project Ideas that can be finished in an hour or two! The best part? The cost of these projects are under 2$ per student.
Get ready to enhance your classes with these 3D Printed Fashion Projects:
Sounds exciting? Let's explore these projects in detail!

SubliPrinted Fully 3D Printed Scrunchie
Beautiful 3D Printed Scrunchies
Looking for a simple project for your students to introduce 3D modeling and 3D Printing? Forget 3D Printed name tags! Let your students 3D Print a beautiful Scrunchie to tie their hair instead.
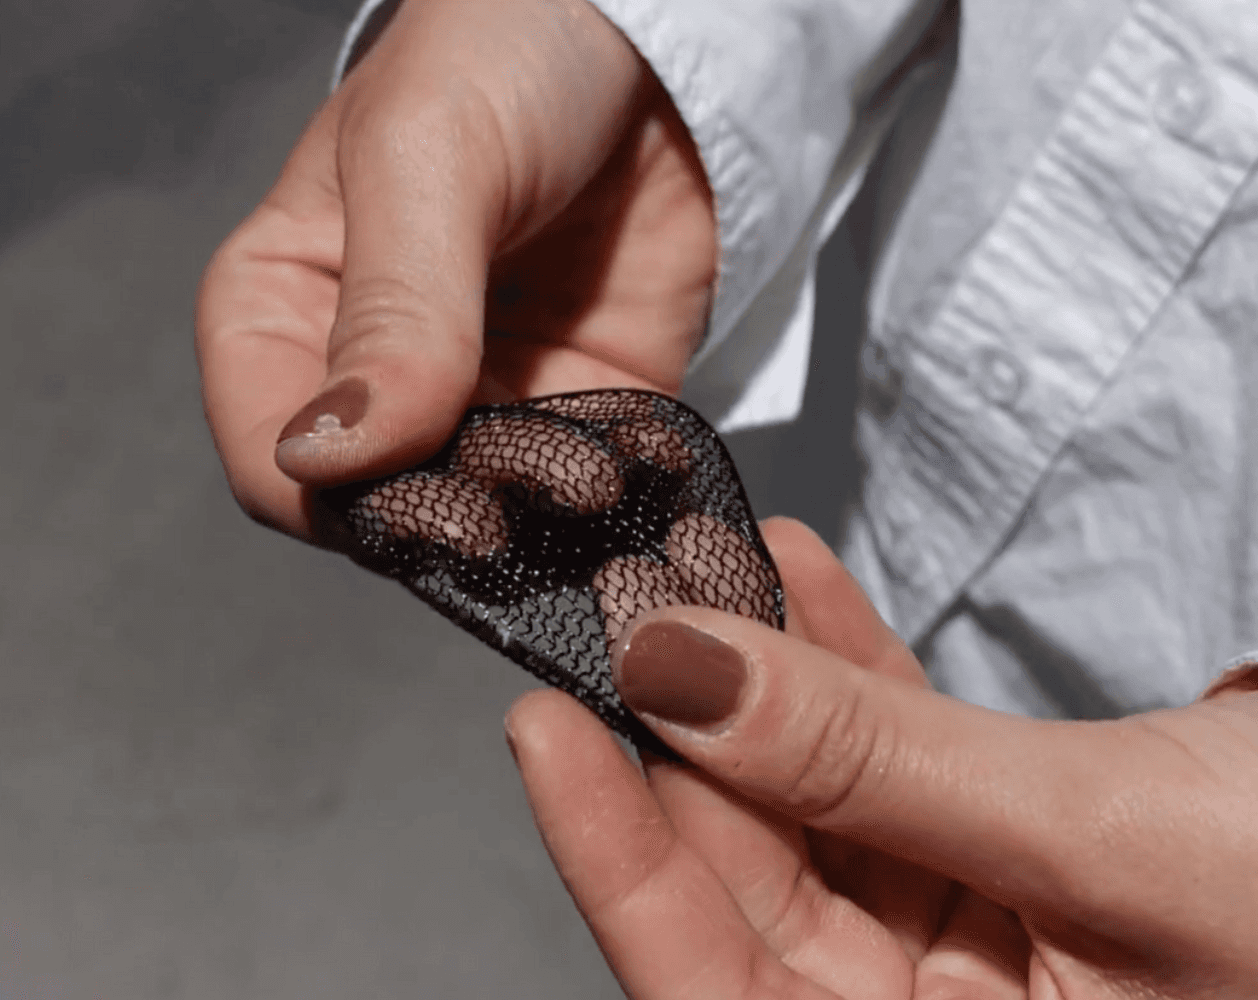
This very easy project can be done by printing two 3D Printed Fabric pieces that you can treat similarly as textile. Trust me, your students will be fascinated by their 3D Printed Textile and will refuse to take off their scrunchies. You can use different colours, 3D print lace patterns or even let students generate their AI textile pattern and SubliPrint their scrunchies with their own unique textile print!
Tools needed: 3D Printer, 20g of Flexible Filament (shore hardness around 90A), Flexible Thread, Needle, a Simple Hair Tie
Used Softwares: TinkerCAD, Slicer for your 3D Printer
Time estimation: 1 hour (10 minutes to design, 30 minutes to print, 20 minutes to assemble)

Lace Fully 3D Printed Base for a Bow Tie or Hair Bow
Original 3D Printed Bow Ties or Hair Bows
What about teachers of co-ed classes?! Don't worry, I’ve got you. Believe it or not, but you can easily 3D Print patterns for a Bow Tie. Similarly to the 3D Printed Scrunchie, this is a great starter for 3D Printing Classes. In addition to learning about 3D modeling softwares and slicers, students can also modify the Bow Tie Pattern in Adobe Illustrator as an introduction to Graphic Design.
Best part is that with the same pattern your students can then choose to create a bowtie or a hair bow, making it a perfect inclusive project.
Tools needed: 3D Printer, 30g of Flexible Filament (shore hardness around 90A), Flexible Thread, Needle, a Simple Hair Clip
Used Softwares: TinkerCAD, Slicer for your 3D Printer, Adobe Illustrator
Time estimation: 1 hour 15 minutes (30 minutes to design, 30 minutes to print, 15 minutes to assemble)

3D Printed Modular Wallet with Air Purifing Filament
Stylish Modular 3D Printed Wallet
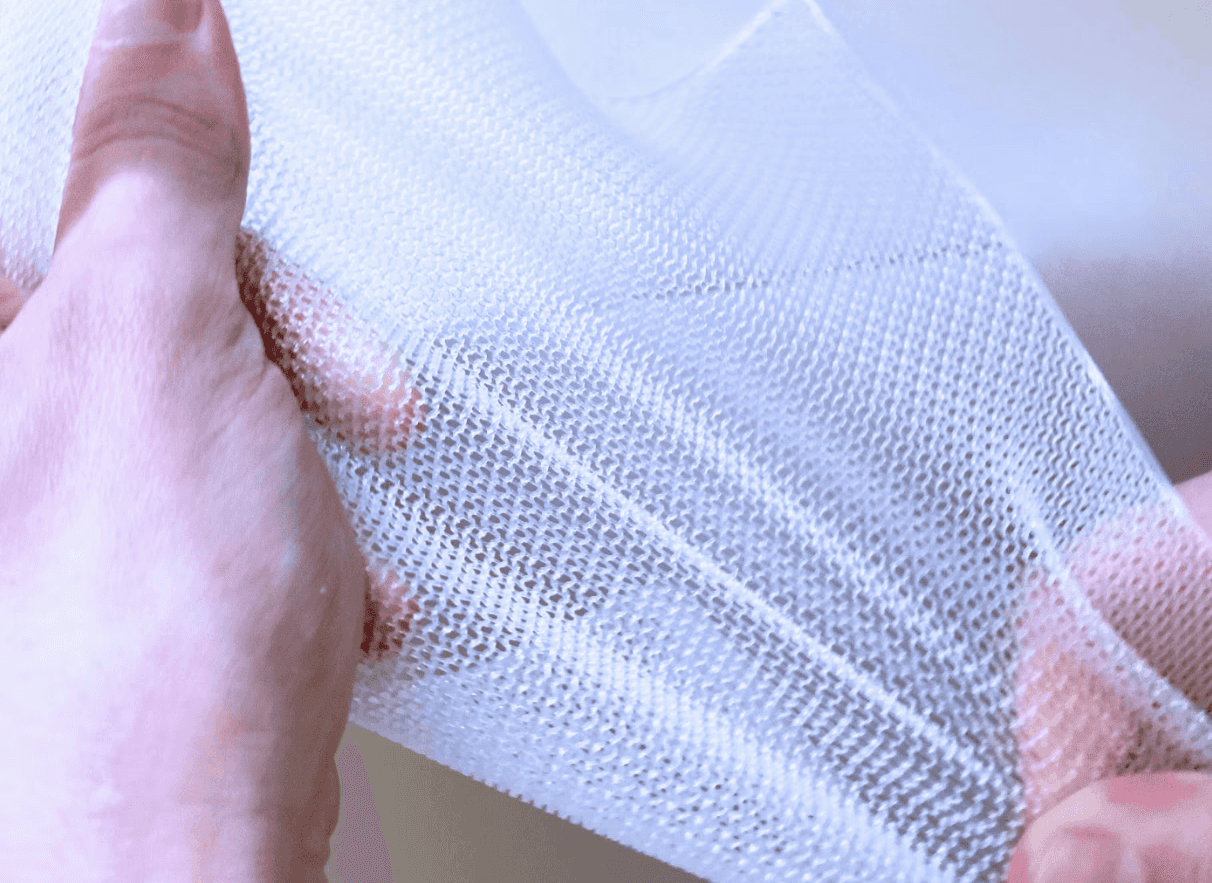
Another project that will make your students brag about your classes. 3D Printed Wallet is one of the slightly more advanced projects. Every good design starts with a pen and paper. You can let your students design their desired wallet and then let them trace their pattern in Adobe Illustrator. Once their pattern is finished, they can easily extrude their 2D designs in TinkerCAD to create printable 3D objects. 5 minutes to set up the desired structures and your 3D Printed Wallets will be ready to be printed. To add an extra touch to your projects, you can print on organza fabric, so your 3D Printed Wallet is nice and shimmery.
Tools needed: 3D Printer, 30g of Flexible Filament (shore hardness around 90A), organza fabric
Used Softwares: TinkerCAD, Slicer for your 3D Printer, Adobe Illustrator
Time estimation: 1 hour 50 minutes (50 minutes to design, 50 minutes to print, 10 minutes to assemble)
There are so many other 3D Printed Fashion Projects. You can let students 3D Print caps, jewellery, bags and headbands. You can use 3D Printing to enhance their trousers, t-shirts and many others.
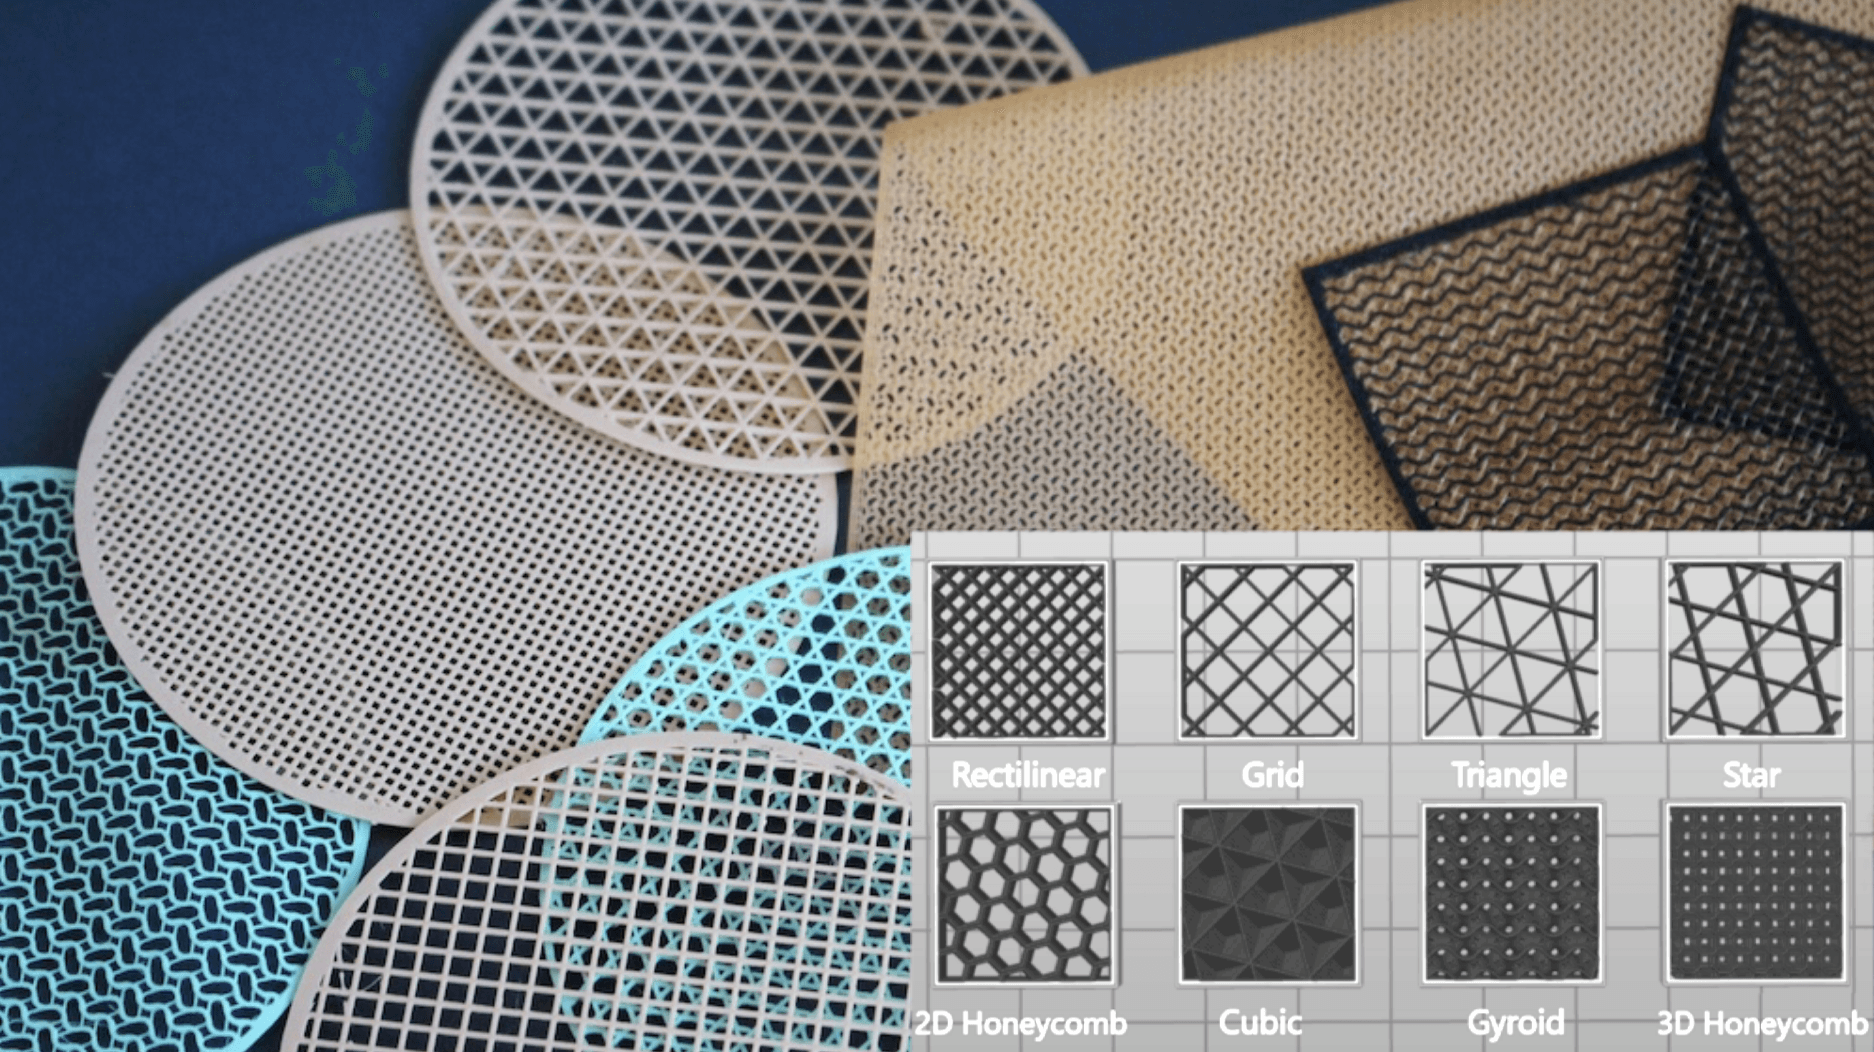
Key Infill Patterns for 3D Printed Textiles

3D printed Tank Top by our student Ales, using Gyroid Pattern
The possibilities are almost limitless. 3D Printed Fashion is an amazing tool to introduce students with technologies of the future in a creative way. My students love it, yours will too.
Starting with these innovative lessons has never been easier. 7 years ago, I have started my journey 3D Printing with 3D Printers that were way more expensive and required much more knowledge. Today we have so many wonderful options. I’ve been experimenting a lot and figuring out what works best and what doesn’t. I’ve suffered, so you don’t have too. :)
I am putting together all of my knowledge and creating a space for teachers like you to help you kick start your 3D Printed Fashion journey. Of course, there are some materials on 3D Printed Fashion online. But this space is specifically designed for teachers, so you will find:
1. Easy strategies how to setup your 3D Printed Fashion Classroom
2. How to choose the best 3D Printers for your Classes
3. How to choose the best filaments and which of them to use for which projects
4. Which projects to choose for your students depending on their age and skills
5. Tutorials on 3D Printed Fashion Projects that you can use in your classes
6. Ready-to-use 3D Printed Fashion Teaching Materials with lesson plans, workbooks and worksheets.
7. Courses on 3D Printed Fashion Essentials for those who would like to get deeper
8. Weekly Q&A Sessions to discuss any issues, troubles or questions you might have
Now, I know how busy your schedule is, so everything will be online in a form of microlearning. You can explore everything according to your free time and learn every aspect with no unnecessary fluff.
Exactly what you needed?